Creatively inspired by Ben Franklin Crafts in New Albany
By Morgan Sprigler
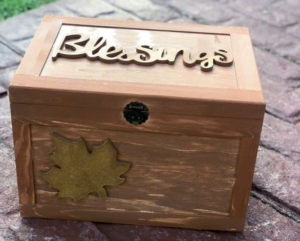 Happy fall, dear readers! It’s that time of the year to revel in the changing of seasons, the mixture of red, yellow and orange leaving us in awe of the beauty of our community. What a perfect time to reflect on all of our blessings as we enter the last few months of the year.
As I was roaming Ben Franklin Crafts in New Albany (420 New Albany Plaza) searching for inspiration for this article, I ran into Kristy Smith, one of the owners. I told her that I wanted this craft to be centered around gratitude, and she shared a story with me that almost brought me to (happy) tears: When Kristy’s children were young, every year at Thanksgiving, they would all write down what they were thankful for on a Post-it Note and place it inside of a pumpkin basket. Then, as they sat together around around their dinner table, they would bring out the basket and read what they wrote down years prior. I absolutely love a good tradition, and this one takes the cake. Simple, sweet and oh-so-memorable.
This craft is inspired by the Smith Family. If you’ve not met them yet, add it to your list of things to do this fall. They are the kindest people and their store is so full of love. Now, let’s get crafting!
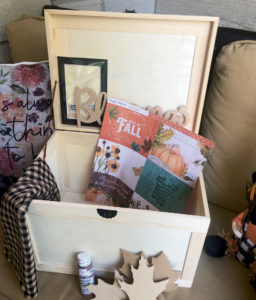 SUPPLIES:
• Wooden chest/box
• Wooden cut outs
• Acrylic Paint
• Paint Brush
• Fabric
• Hot Glue Gun
• Scissors
• Photos
• Photo Matte
Materials provided by Ben Franklin
Crafts & Frame Shop
420 New Albany Plaza | New Albany
benfranklinartsandframing.com
 STEP ONE
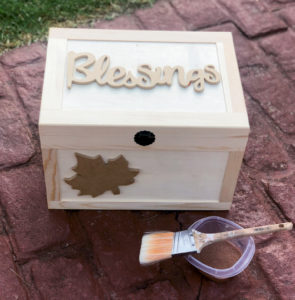
Using hot glue, adhere your wooden cut outs to your box. I chose a script cut out that says “blessings” and three different leaves. Ben Franklin has an entire aisle of options.
STEP TWO
I chose to stain my box. I thought stain would be timeless, but you can certainly paint your box any color you would like. Did you know that you can create a stain from any acrylic paint by simply mixing it with water?! This will cost you under $2 as opposed to traditional stain that sells for around $12. Use your paint brush and go at it. I also added some gold to my leaves, because gold makes everything better. Am I right? Or am I right?
 STEP THREE
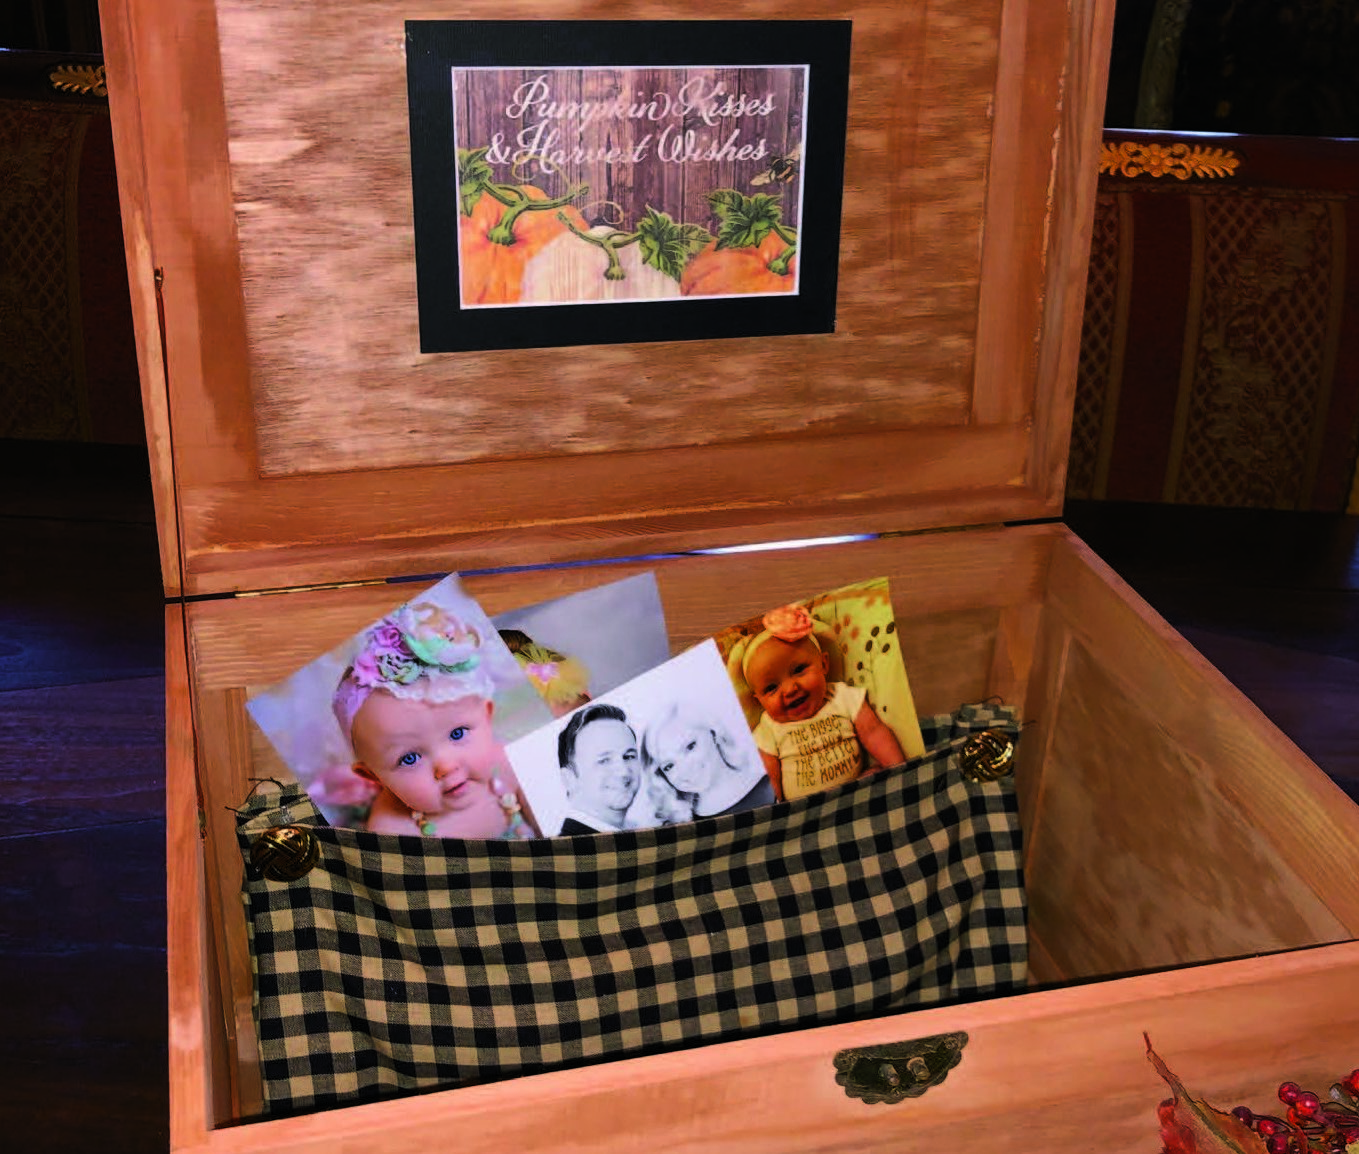
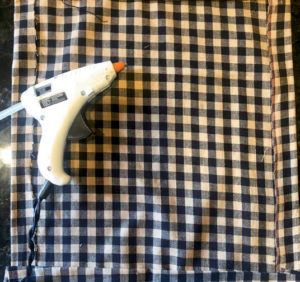
Once your box is dry, you can begin to customize it. I purchased a piece of matte (the thin, flat piece of material that borders a matted photo) and fall-themed cardstock to create a frame on the underside of the lid. The cardstock says “Pumpkin Wishes & Harvest Kisses.” I also selected houndstooth fabric to create a pocket inside for photos, cards, etc. For those of you who sew, you can hem the edges. For those of you who like to play with hot glue guns (like me), simply turn up the perimeter of your fabric to hem and secure with a thin line of glue. Attach your pocket wherever you would like in your box with a few dots of hot glue.
STEP FOUR
Gather your family and spend some time reflecting on your many blessings. Ask your friends and family to add to it when they come to visit for Friendsgiving or Thanksgiving. I intend on implementing this for our annual Friendsgiving as well as making it a tradition in my own home. You can even use the box as a centerpiece for your Thanksgiving table.
Speaking of gratitude, I am SO grateful for all of you Extol readers. Thank you for allowing me to connect with you through crafting. I wish you the most wonderful autumn.
XO,
Morgan


