Made by Morgan
Creatively inspired by Ben Franklin Crafts in New Albany
By Morgan Sprigler
…Another one opens and just like that it’s Spring, bringing us a promise of sunlight, crisp air and fresh beginnings. To welcome the new season, I’m sharing with you a kid-friendly craft that incorporates a little education, too, and started – as always – at Ben Franklin Crafts New Albany. By the way, new store hours went into effect in January. Ben Franklin is open 9:30 a.m. to 8 p.m. Monday through Saturday and 12 p.m. to 6 p.m. Sunday. If you’re ready to get down and Derby, stop in sometime soon to see the growing collection of fascinators and hats (for men too!) or talk to a staffer about creating one specially for you.
Now, let’s craft!
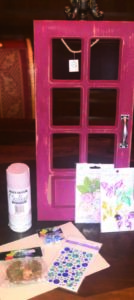
BEN FRANKLIN CRAFTS NEW ALBANY SUPPLIES
• Wooden hanging door
• Chalk paint of your desired color
• Cardstock of your desired color x 2
• Scissors
• Spring items of your choosing
• Hot glue gun and glue sticks
Total project cost = $42
STEP ONE
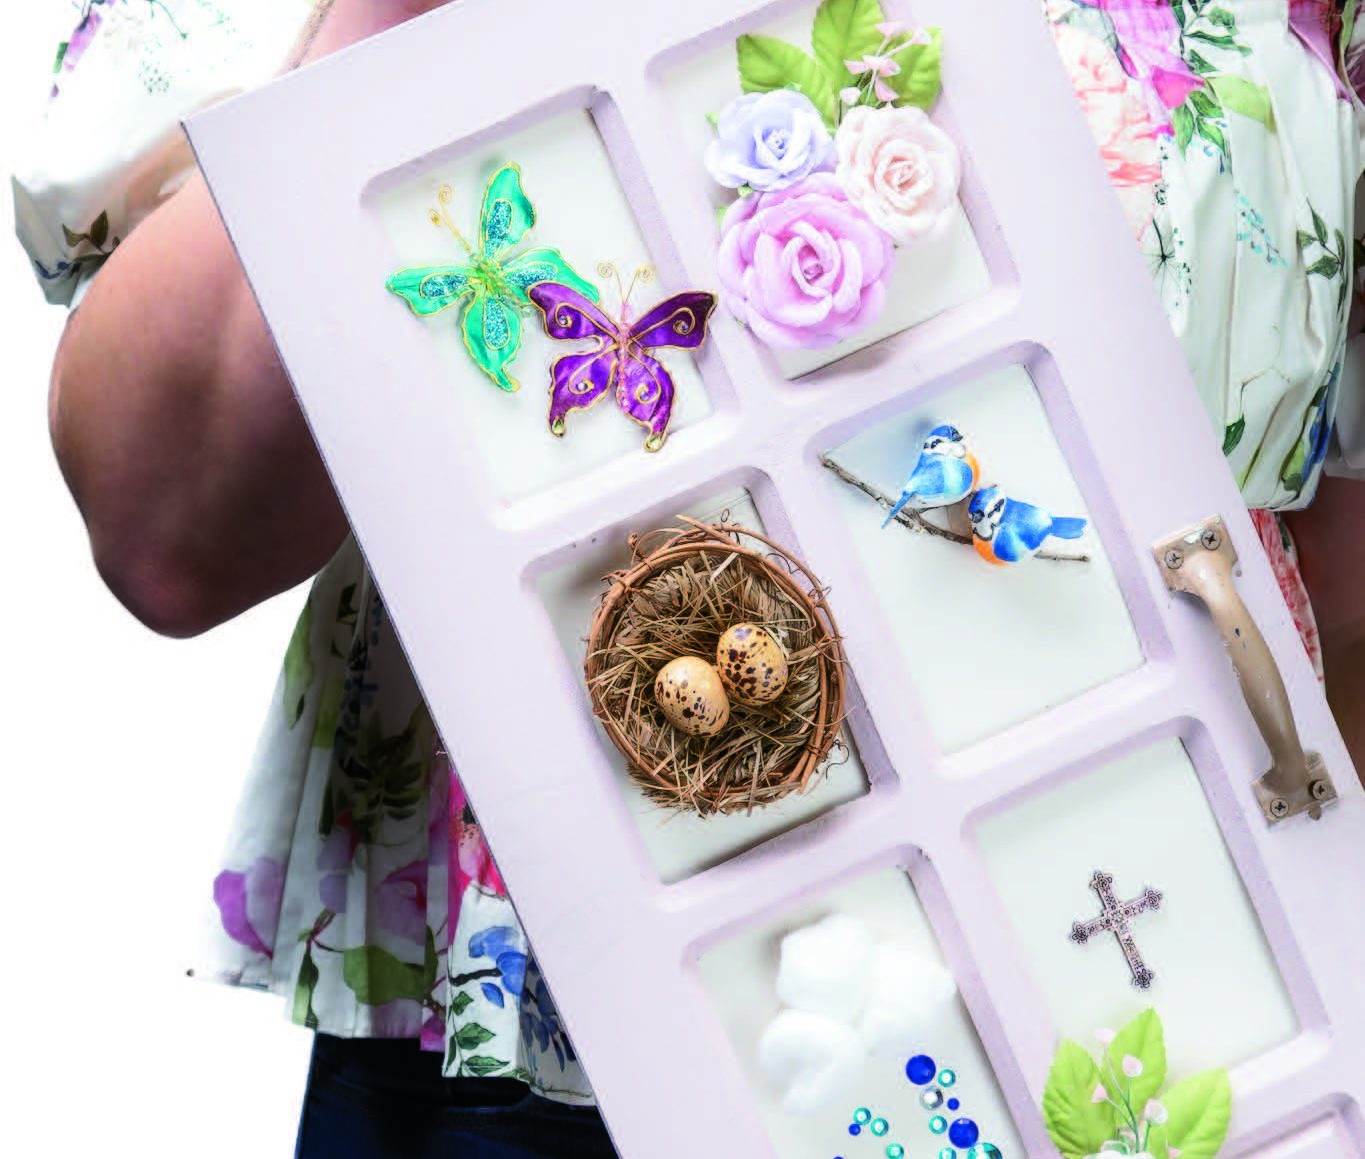
Find some time when you and your kid(s) can go craft supply shopping together. As you are browsing, start up a conversation about seasons. Use this opportunity to test their knowledge and do a little teaching, too. Start with the wooden door. Because it has 6 “panes,” have your child(ren) come up with six different aspects of spring. Each item will eventually be displayed on your door and will remind your child(ren) what the season is all about. My girls and I settled on rainclouds made from cotton balls with rain made from blue stones, butterflies, a birds nest with eggs, flowers, birds on a twig, and a cross to symbolize Easter.
STEP TWO
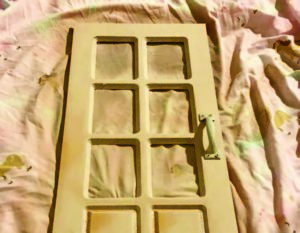
Paint! We chose a delicate, light pink chalk paint in a spray can. However, you may use any paint you desire. I like the look of chalk paint for this project, but a flat or matte paint would be pretty as well. The red door from Ben Franklin is also very nice just as it is, if you want to skip this step. We also decided to paint our door handle gold using acrylic paint, because, why not?! Paint and then let the door dry.
STEP THREE
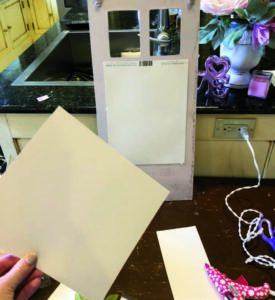
Using your heated glue gun, apply glue around the perimeter of one sheet of cardstock. Apply sheet to the back of your door, covering four of the bottom panes.
STEP FOUR
Cut your second sheet of cardstock in half and repeat step three to cover the top two remaining door panes.
STEP FIVE
Glue your spring items to the cardstock inside each pane, while talking with your child about why each one is important and/or specific to the season. Again, all of our items were purchased from Ben Franklin Crafts New Albany, with the exception of our rain clouds, which are simply three cotton balls arranged together. We also found a twig outside to use as a branch for our little birdies. Instead of items for every pane, you and your child also can paint or draw inside one or more panes or you can collect items from your garden.
Note: This door can be updated for each season by easily removing the cardstock from each pane and adding new objects. (You could even update for birthdays by choosing six of the birthday guy or gal’s favorite things.)
Variation 1: Instead of cardstock, you can use felt for the background and utilize Velcro to attach your objects instead of glue. This would make this project even more conducive to changing out with the seasons.
Variation 2: If you would rather have a centerpiece for your kitchen table or kids table, Ben Franklin carries an array of wooden boxes that would work well for this project, too. You and your child(ren) could decorate each side of the wooden box and add a floral arrangement to the top! Voila!
Happy Spring, Extol Readers!


